
The Captivating Servo Box
In this video we show you how to repurpose a plastic servo box into the perfect field accessory.
Using magnets in the lid, it will now hold all the hardware you need to assemble your airplane at the field.
 Bright Ideas
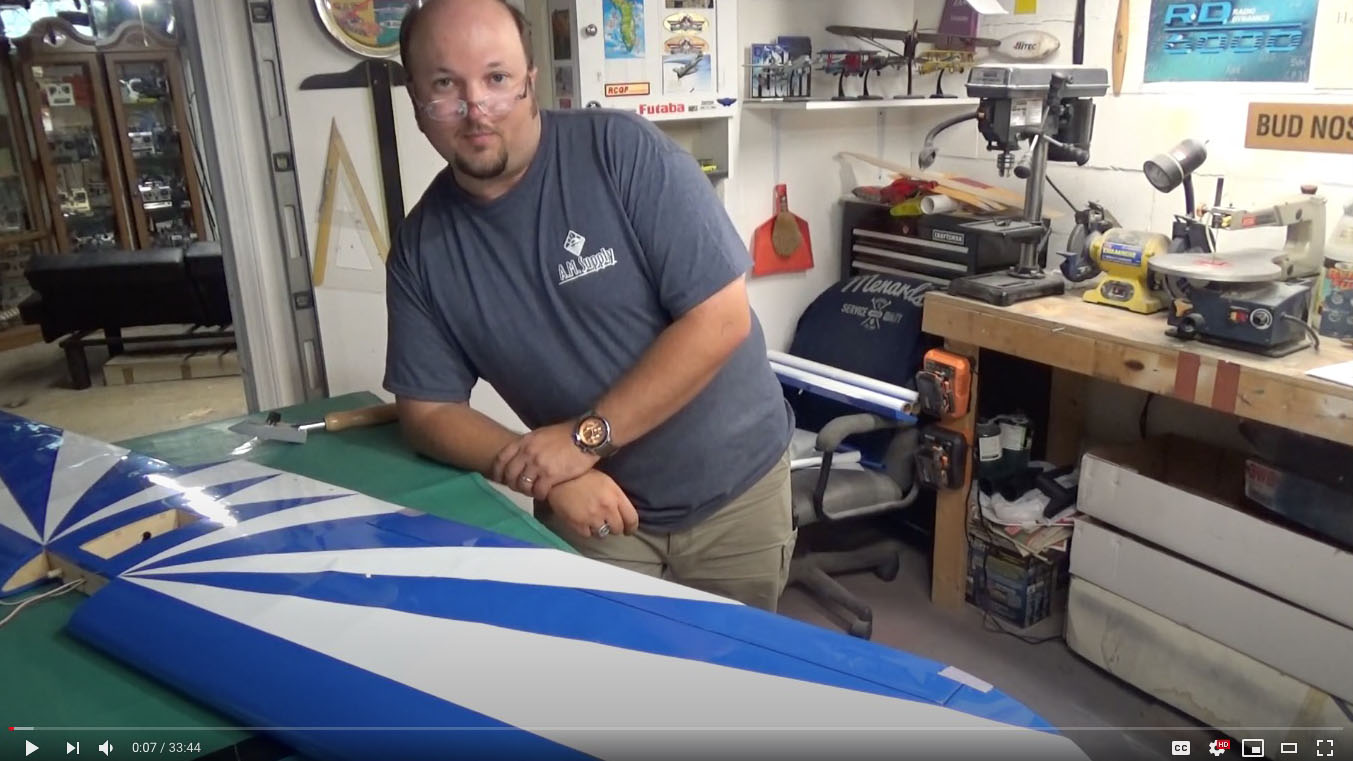
Shown here are a collection of Old School tips that can be used to assemble any of our kits,
or any other built-up aircraft for that matter.
We are life-long modellers and are always on the lookout for new and interesting ways to solve problems.
In this video we show you how to repurpose a plastic servo box into the perfect field accessory.
Using magnets in the lid, it will now hold all the hardware you need to assemble your airplane at the field.

Here's a few tips on how to keep CA hinges from shifting around during the installation process

Here's a quick tip to keep your hobby knife from rolling away.

Here's a quick tip on how to avoid dents and gouges when installing wing bolts.

Here's a quick tip showing an easy way to insert servo grommets.

Trying to run servo wires through a covered wing can be tricky. Before covering the wing, run a bit of string through the open structure, from the servo hatch to the opening in the wing's center section. Leave an extra few inches on each end, cut the string, and tape it in place.
Leave the string taped into the wing until after it's covered. Then you can tie the end of the servo wire to the string and easily pull it through the wing's built-up structure.

No doubt you receive packs of business-reply cards in your mail from time to time, similar to these.
After keeping the cards you're interested in, don't be too quick to throw the rest away. Keep them as they are the perfect, portable surface where you can mix small amounts of epoxy. They are typically thicker cardstock and usually coated, making them less resistant to moisture seeping through.

Rob Gornek from Daniel's Hobbies shared a quick, easy, and inexpensive way to add a radial engine to the Robinhood 25. This process uses a third party spare part and we've detailed the steps - click here.
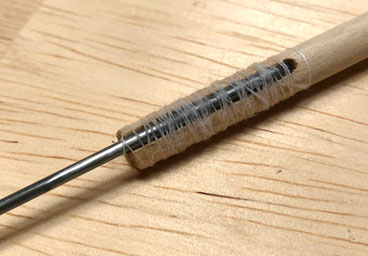
Using a length of dowel (or hardwood), some thread, and a bit of left-over wire, it's easy to make your own pushrods.
Put a 90° bend into the wire, about 1/4" in from the end that will attach to the pushrod.
After you've measured and cut your dowel to the proper length, drill a 3/32" hole through the wood, approximately 1" from the end. Then make a thin slot from the hole to the end of the dowel, just deep enough for the wire to rest in.
Push the wire into the pushrod and wrap it with a generous winding of thread, then secure it with the glue of your choice (thin C/A works very well).
When finished, do the same for the other end of the pushrod.
All the measurements used here are assuming a 1/4" dowel and 2-56-sized pushrod wire. Please use common sense in adapting this technique to a different size.
This video by Andrew Gideon details his technique on how to apply Monokote, over Monokote - appling trim pieces. Not knowing him, I reached out, and he’s given permission for Old School Model Works to share his video on our social media channels.
Check it out and maybe pick up a new technique for your next Old School Model Works build.
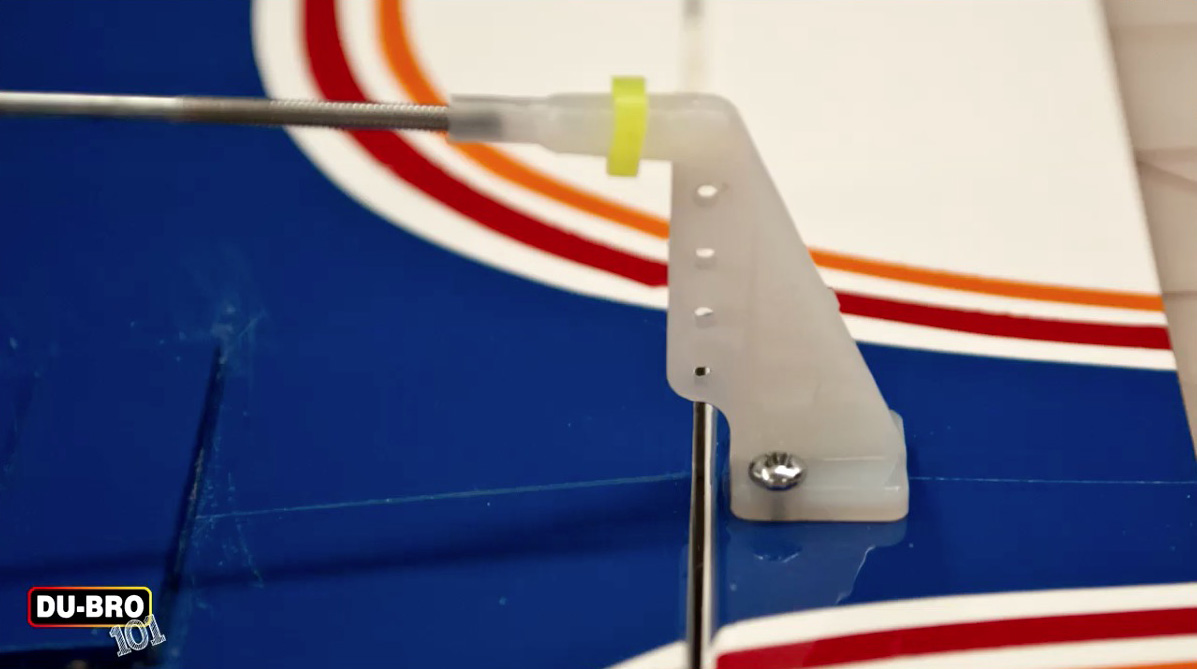
In this video by Terry Dunn, he details how to install control horns, similar to the horns included in each Old School Model Works kit. It's part of Du-Bro Products "Dubro-101" video series.
Check it out and apply these techniques when installing them on your OSMW model.
Before attaching the wheel collars and the wheels to the main gear, put a small flat on the axle. It doesn't need to be very big—just wide enough for the wheel collar's set screw to rest on. Now you can secure the collars and wheels to the axle, making sure to line up the set screws with your newly filed flat.
Don't forget to use a bit of thread-locking compound on those set screws!
In this video by Terry Dunn, he details the proper way to mount servos, a fundamental part of the RC hobby. He shares a few tips to help you with this task.
It's part of Du-Bro Products "Dubro-101" video series.

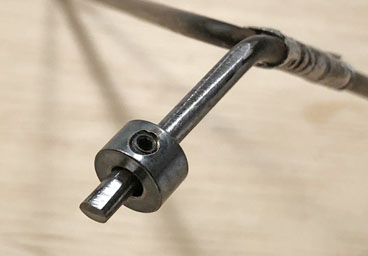
In this video by Lee Ray, he details the proper way to solder clevises to metal pushrods. The Kwik Link clevis being soldered to a steel pushrod is a very strong method to control your rc airplane surfaces like ailerons, rudder, flaps, elevator and more.
It's part of Du-Bro Products "Dubro-101" video series.
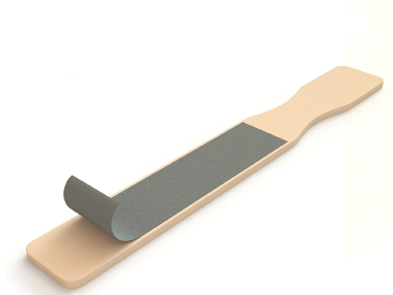
Next time you get paint at the hardware store, be sure to get some extra paint stirrers. Glue strips of sandpaper of various grades to each side of the sticks; 3M 77 spray adhesive works great for this. You can also use sticky-back sandpaper. Now you have created a collection of useful sandpaper files! It’s also helpful to mark the sandpaper grit on the handle of the stick for easy reference.
This tip is courtesy of Model Airplane News - used with permission.
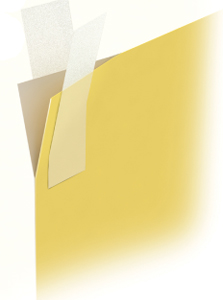
The protective backing on some covering films can be difficult to separate at first. A strip of masking tape applied to each side of the covering creates a handle on which to pull the sheets apart. Once you try it, you will never go back to separating them with your fingernails.
This tip is courtesy of Model Airplane News - used with permission.
In this great how-to video, Mark Robinson shows how to make a muffler spacer yourself and this can be adapted to most any size engine. He uses regular tools - a drill press, file, saw, etc. - no expensive CNC equipment.
Although not for everyone, it's a very simple and efficient way of creating a spacer when you can't find the right one anywhere else.
Oh, and he also shows how to make longer mounting bolts.

In this humorous and informative video, Tim McKay takes a "tongue in cheek" discussion of 11 quick and easy ways to crash your RC plane.
We all strive to avoid crashing our RC planes.Sometimes it might be fun, to see what we can learn taking an opposite view of the challenge.